Alright, I think I might give this blog thing an honest try since I think some of my experience may be useful to some of my peers. I realize there is already tons of great information online on all aspects of filmmaking and cinematography, so I’m really just going to focus on my personal experiences and areas that I haven’t found a ton of info on already. For those that don’t know me, I make my living by working as a freelance cinematographer based out of Philadelphia. I primarily shoot commercials, music videos, documentaries, branded content, and starting to finally get into some much needed narrative work.
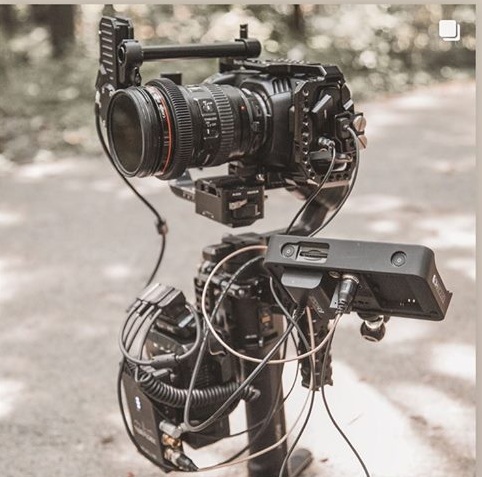
So here’s my first post, and it’s dedicated to my buddy, John Kolleh, an excellent filmmaker in his own right, who’s been trying to get me to do a video tutorial of my Blackmagic Pocket 4k/Ronin-S setup for months now. I started to build the camera for a gig I have tomorrow, so I thought I’d snap a few photos of the process.
The following setup is great for fast moving client shoots where you need to collect a lot of beautiful moving footage, but the budget or need isn’t quite there to justify renting a full size cinema camera and gimbal package. I’ll often bring this out for the B-Roll portion of a typical bread-and-butter interview+broll style shoot, but also works great for music videos, narratives, commercials, events, and any other situation where you need a gimbal.
It lets me pull my own focus and also lets an AC wirelessly pull my focus for more complicated shots. Your client and/or director can also have a monitor so they can see what you’re doing. This was the cheapest way I could come up with to graciously move a cinema camera. Putting my Ursa Mini Pro on a gimbal such as the Ronin-2 or Movi is just too cumbersome and expensive to justify for some of these run and gun styles of shoots.
Equipment Used: Pocket4k, Ronin-S, Tilta Nucleus-M follow focus system, Teradek Bolt 300, Smallhd 502 Bright, Smallrig hardware, D-Tap splitter, 98 W/H V-Mount battery.
1. First thing that I do is put the Ronin-S together. I use a Smallrig 200 gram counterweight and clamp it to the roll motor’s arm on the right side. This gives us some solid counterweight since the Pocket4k is a bit lopsided in its weight distribution.
Then I put the V-Mount Plate on.a skinny cheese plate that screws into the Smallrig Ronin-S collar. You can screw the v-mount plate directly to the collar, but I like to offset it so that I can easily charge the Ronin-S battery via the USB-C port without having to unscrew or move anything. This comes in handy on those long shoot days and I need to charge the rig at lunch.


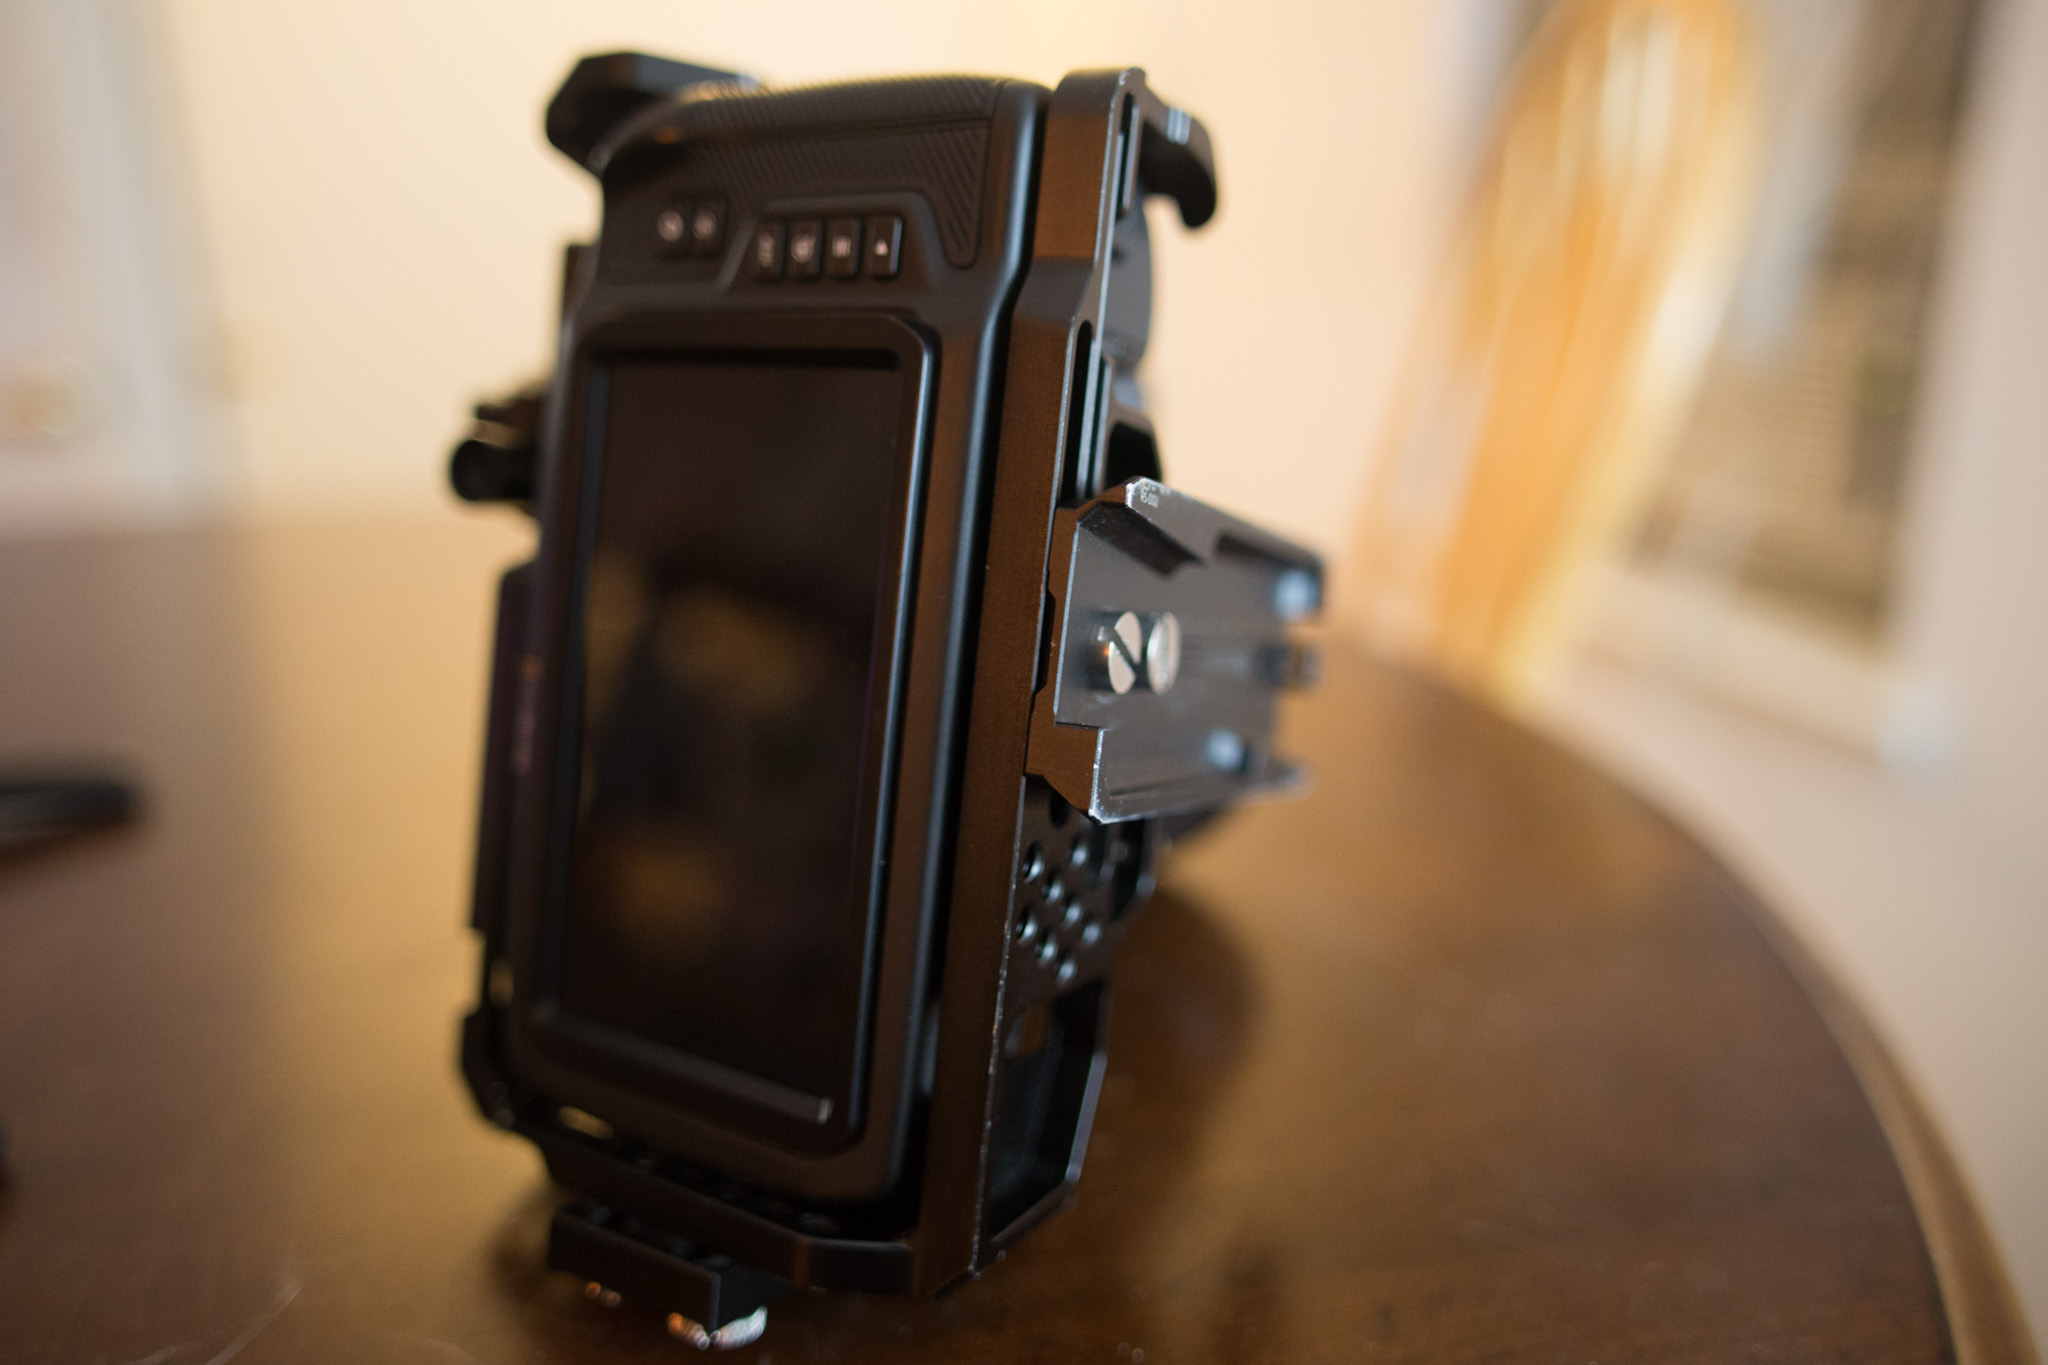
2. Next thing I do is make sure that the camera plate is as close to the right side of the camera body as possible while still being able to get two screws in. You can get by with one screw, but it’s really not great to waste time on set rebalancing your rig because the plate twisted on the camera while you were trying to re-mount the follow focus motor. I also make sure the plate doesn’t stick out too much from the back of the camera. This helps us set the camera further back on the gimbal to accommodate heavier lenses. This is easy to do with the SmallrigPocket4k full cage.
3. After that, I put a 6” rod through the 15mm rod clamp on top of the cage and slide the Nucleus-M motor on and line it up with the focus gear on the lens. Then, I’ll slide it on the Ronin-S and get a really rough balance before continuing to connect the rest of the stuff. Also, it’s important to put the motor on the right side of the camera as to help with the uneven weight distribution of the camera as mentioned before.

4. Next thing I do is throw a battery on. I like my 98 w/h Indie Pro batteries for this since they’re decently light, support high current, and get me a solid 3-4 hours of filming before having to switch it out. It’ll power just the camera without accessories for about 6 hours straight. After that, I velcro my d-tap splitter to the top of the battery so that I can power the whole rig with a single battery (besides the Ronin-S and Nucleus-M handle which both have their own batteries that should last the whole shoot day). I power the Pocket4k camera, Nucleus-M follow focus motor, Smallhd 502 bright monitor, and the Teradek with this single battery.

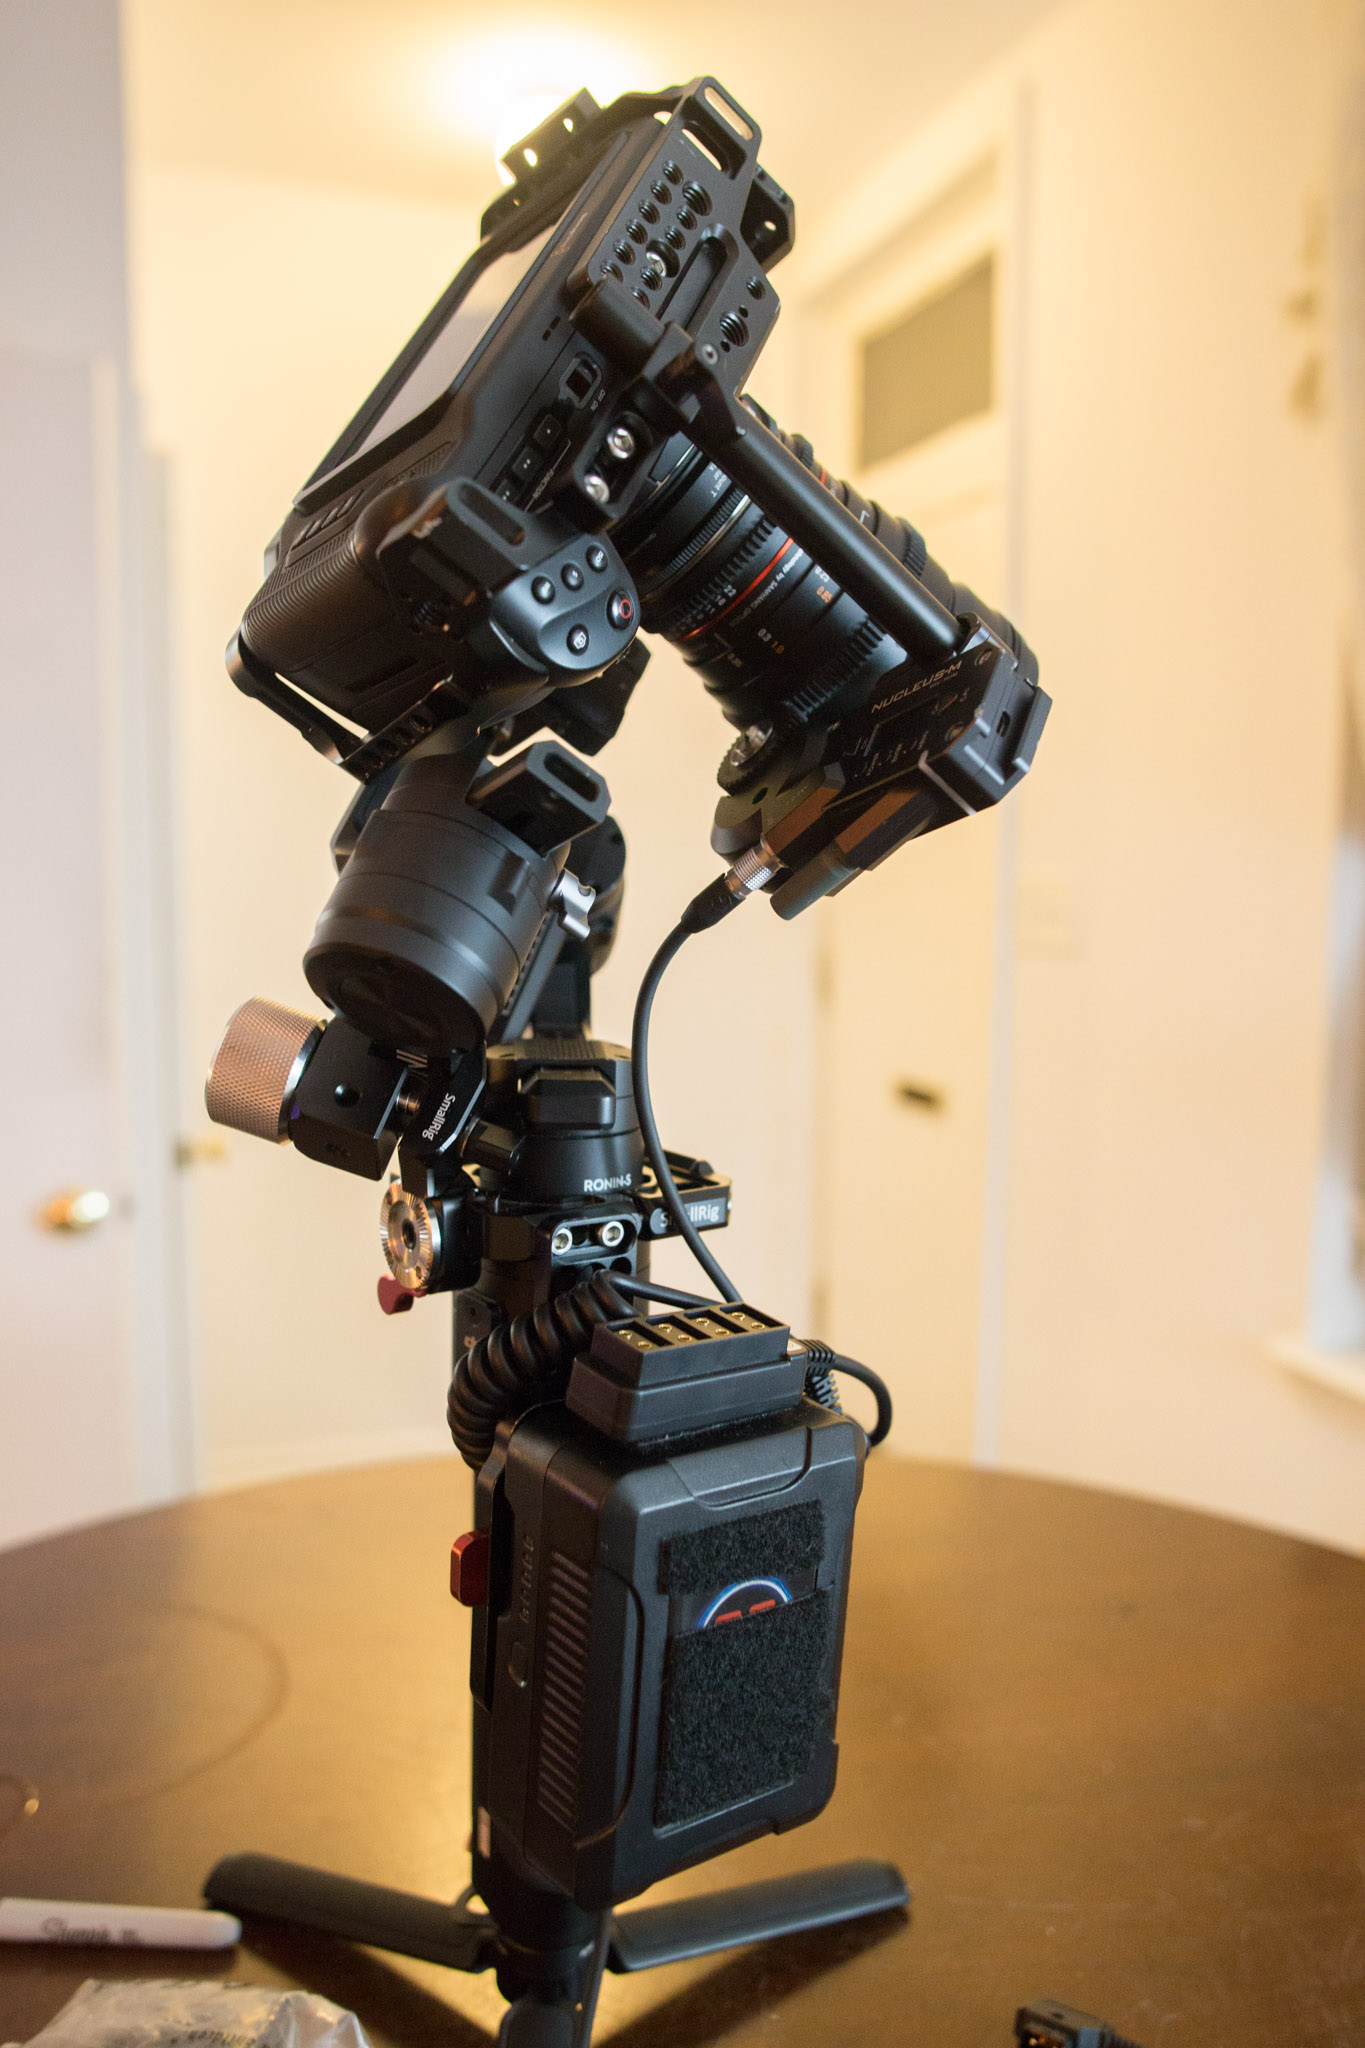
5. Now I start connecting everything else. It’s important to use a thin/lightweight HDMI cable to go from the camera to the monitor to keep it from stressing the Ronin’s motors. Then I connect the Pocket4k 2-Pin to D-Tap cable and run it down to the d-tap splitter. After this, I tighten the cable clamp screws on the pocket’s cage to keep them secure.

6. Now I put on my side handle by clamping it to the Nato Rail on the small-rig collar. This side handle makes it more comfortable to hold the rig with two hands and offers mounting points for the articulating arm that I attach the Smallhd Monitor to. Any side handle/arm will do, these are just the ones I happened to own. Then I continue to plug in my HDMI cable from the camera, and plug the Smallhd’s power cable to the d-tap splitter.


7. At this point, I go ahead and screw the Nucleus-M’s focus handle into the Smallrig Rosette which clamps onto the collar plate via Nato rail. As said before, I have batteries in the Nucleus handle for power, and it communicates with the motor wirelessly. You can also power the Nucleus motor by connecting the handle directly to the motor, but you may need to buy a longer motor cable for that. Ironically, I’ve found that hard wiring the connection is less reliable then using it wirelessly, so I just use it like that.


8. Now, as I get closer to finishing the build, I’ll throw the Teradek on. I had some extra heavy duty Velcro so I just Velcro the transmitter to the front of the battery. For power, I use the Lemo to D-tap cable to connect to the d-tap splitter (the one that comes with every Teradek set). Then I connect an SDI (HDMI works, too) from the Smallhd’s video output to the Teradek’s input. I like going through the monitor before the Teradek so that I can pass any Monitor tools (such as LUT’s or custom frame borders) down the line to the director/client/AC.

9. The final step is to manage your cables as best you can. I use Think Tank photo whips, but I’ve seen AC’s with much cooler solutions. So use whatever. Then just balance and tune it and you’re ready to go! You shouldn’t have a tough time balancing if you distributed the weight of the camera similar to how I did it.

Notes: Yes. Yes, it’s heavy. Long takes are going to suck and your body is going to hurt at the end of the day. While I think I’ve become pretty proficient in pulling my own focus with the handle, I highly recommend having an AC pull the focus for you if possible. To save weight, you can totally get by without the monitor and the Teradek on smaller shoots and when you’re not in bright environments (where a bright monitor like the Smallhd is pretty much required for anything outside during the day). It also takes me a solid 15-20 minutes to build this rig. I like to build it before arriving on set so I’m not wasting much needed time. It’s also good to test it all since there are so many potential points of failure...I just had to replace my Shape D-Tap splitter because a couple of the outlets stopped working.
Also, I usually use lightweight primes on this setup, like the Rokinon Cine DS lenses or my vintage Lomo Superspeeds, but it can also accommodate various zoom lenses like the Canon 24-70 f2.8, the 24-105 f4, and Sigma 18-35.. These are awesome ways to go if you’re really in a hurry and need to get tons of sequences and shot variations in a short amount of time. Obviously this is never an ideal way to work, but who hasn’t been there?
Here’s a low budget music video I did with this setup.
Feel free to contact me with any questions about this setup or any others, and check back soon for future posts.
Cheers,
Joe

Photo taken by Koi Fly Creative